Today's Featured Article is . . .
- theinkycreative
- Jul 7, 2024
- 2 min read
Updated: Jul 8, 2024
Embossing! Today I'm talking all things embossing!
To stay out of the extreme heat we're experiencing here in the Southwestern desert of Utah, I played in my cooled craft room and did some Heat Embossing as well as some Dry Embossing with stencils. Here's how I achieved 3 backgrounds and created a card.
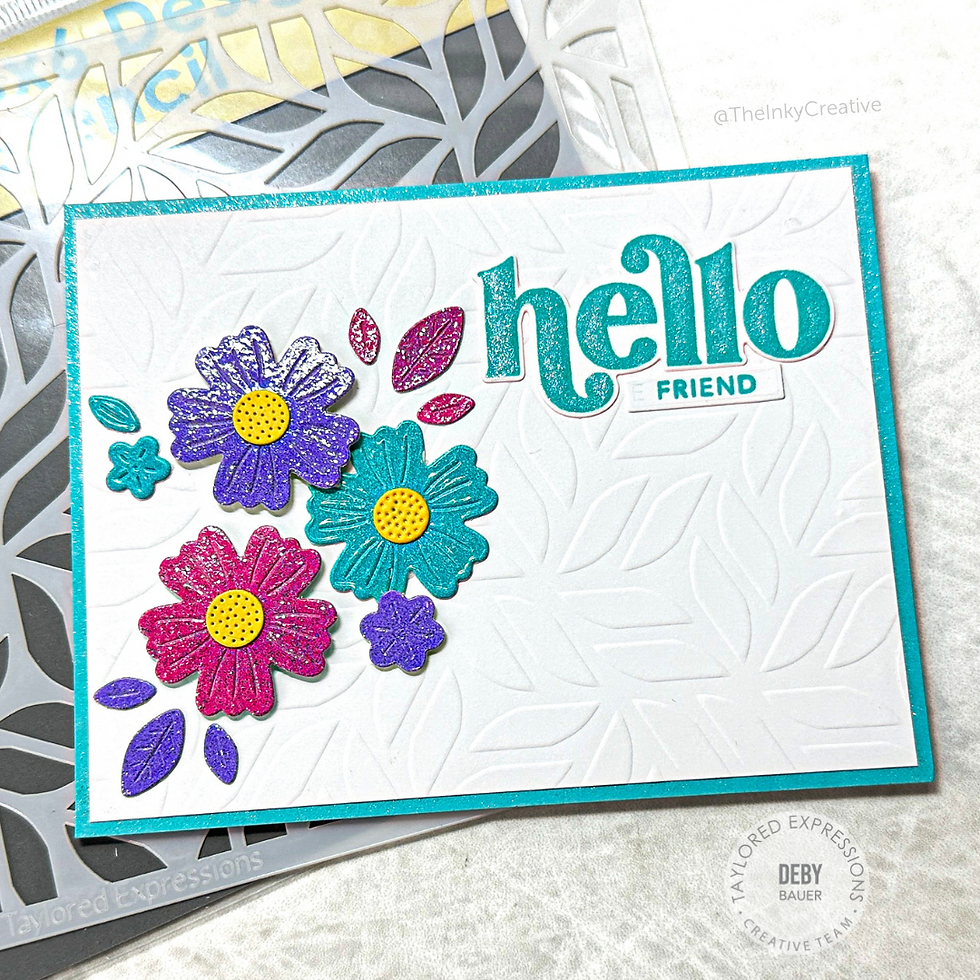
Here's a finished card I created with one of the embossed stencil backgrounds I made today.

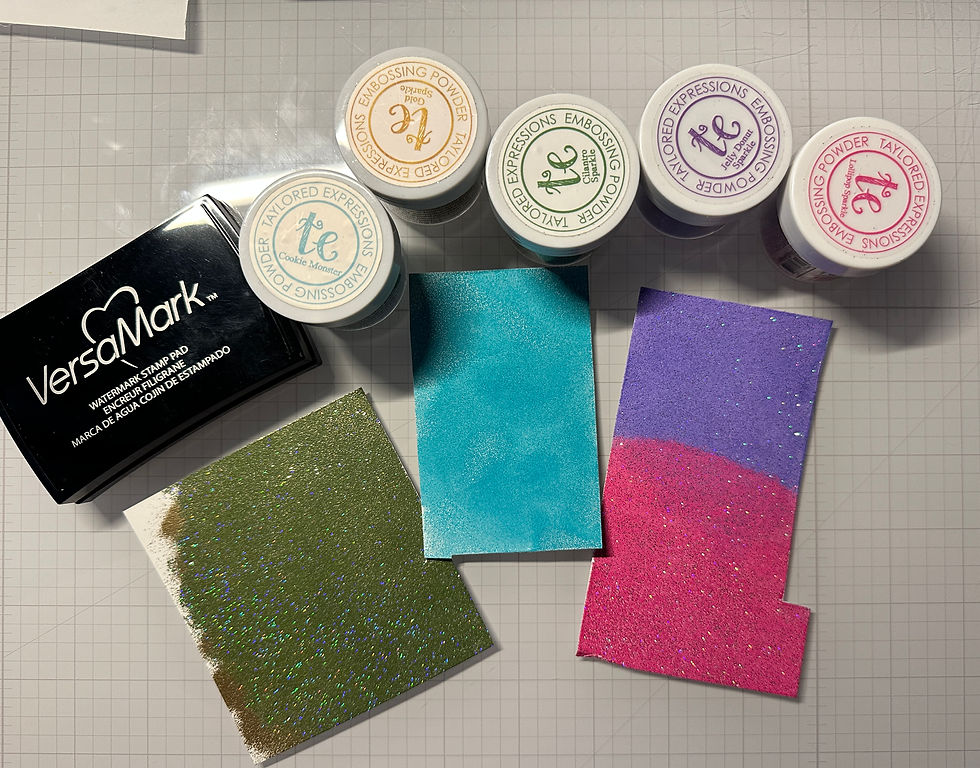
I used the Scattered Blooms die (a Taylored Expressions kit released in March 2024) to cut out some Heat Embossed flowers and leaves using Taylored Expressions embossing powders. I had planned to use the Cilantro (green) embossed panel but it just wasn't bright enough so I'll use it another day. The colors I used for my card elements are Cookie Monster, Jelly Donut Sparkle & Lollipop Sparkle.

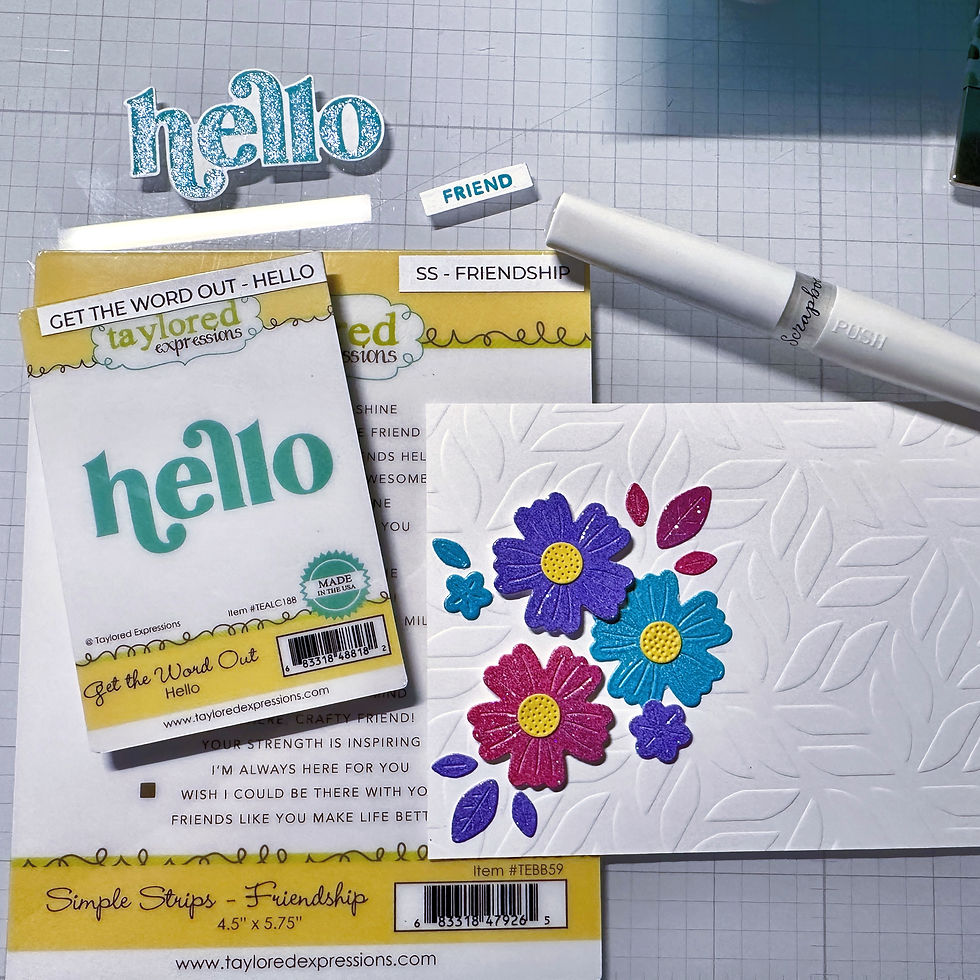
For the Sentiment I used Cookie Monster ink with the Get The Word Out - Happy stamp and coordinating die. Since the flowers are so sparkly the sentiment needed some zhuzhing up so I gave it a layer of TE Unicorn Sparkle Mist using an empty Glitter Brush Marker that I filled with the TE mist. Then for the 'FRIEND' I masked off the word from the Simple Strips - Friendship stamp also using some Cookie Monster ink. (You can really see that dry embossing on that panel in this photo!)

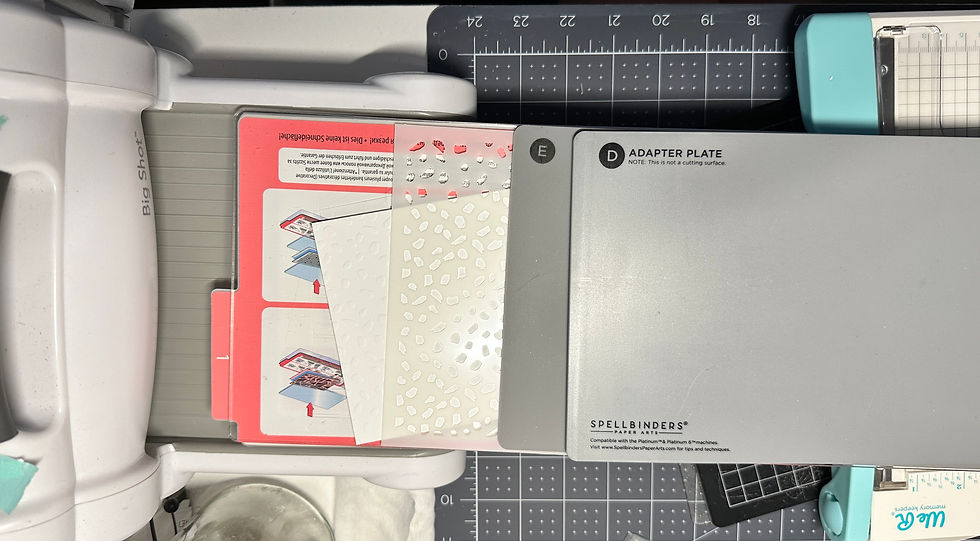
Here's a photo of the sandwich I use with my Sizzix Big Shot to do that dry embossing.
Lift the top layer of the platform up (marked with a 2).
Lay a cutting plate down on top of the layer marked with a 1.
Top that with a card stock panel then the stencil of your choice
Next goes the rubber embossing pad "E"
Then lastly top the sandwich with the Adapter Plate "D"

If you don't have the Sizzix Big Shot or don't have the Spellbinders 6-pc Universal Plate System you'll need to google how to dry emboss with your machine. If you DO have the Big Shot I highly recommend purchasing the Universal Plate System. It's well worth every penny and you'll reach for the Adapter plate more than you can imagine. It works perfectly with the 3D embossing folders, regular embossing folders and of course, dry embossing stencils.
Here's a photo of the 3 embossed backgrounds I made today using Taylored Expressions stencils (Wild Willow, Make A Dash & Paint Swatch) with my Big Shot and I can't wait to make cards with the other two!

Thanks so much for stopping by today. I hope you've learned something or maybe I sparked your creativity to make something fun in your craft room!
Be sure to check back later in the week for the Taylored Expressions Second Chances products being added to the TE store! Lots of fun products coming your way!!!
Have a Fun Day and stay Cool!
xoxo, Deby 💕
_edited.jpg)


🩵🩵🩵! Thank you for highlighting how to use a stencil for dry embossing. I’ve forgotten about this and stretches your tools. Also appreciated how you heat embossed color cardstock for the flowers. These are simple and beautiful with a lot of pizzazz.