Today's Featured Card Is . . .
- theinkycreative

- Sep 28, 2023
- 2 min read
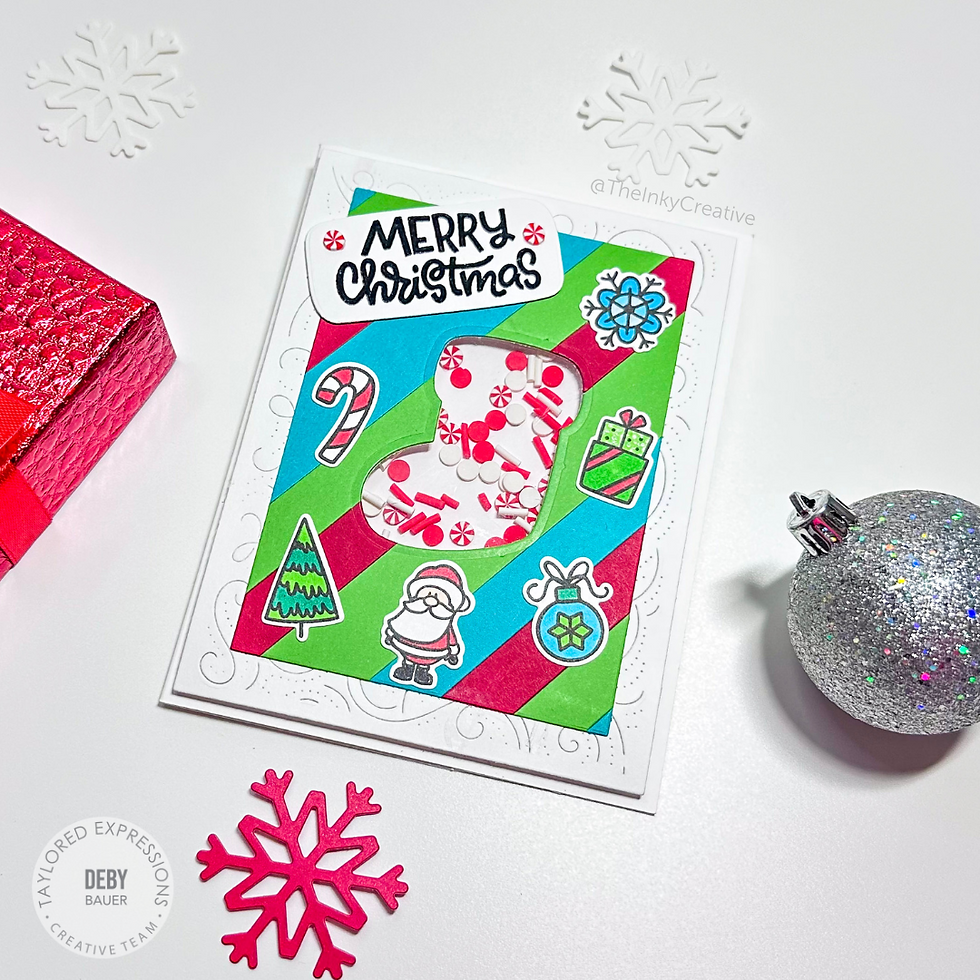
Well actually it's 2 cards today! I got a 2fer out of the stripped panel. Read on to get the details. 🎄


To start I cut strips of Cherry Pop, Cookie Monster & Dill Pickle card stock and adhered them to a piece of copy paper. Tip: When layering you can eliminate some of the weight and thickness by using copy paper which will help with postage.
For the second card I prepared a panel using the Swirls Pierce & Cut Plate cut down to 4" x 5/14" using the A2 Layer Stacklets to get precise sizing.
I then took the Stocking die from the new Baking Spirits Bright set to cut a window for the Shaker card. NOTE: I put the Swirl pierced panel underneath the stripped panel to cut the stocking so everything lines up for the 2nd card.
Using the new All Together Holiday set I stamped and colored then cut 2 sets of elements to adorn the 2 cards. You can use any markers of your choice to color your elements.
To assemble the first card I stamped the sentiment onto the card front panel using the Jingle All The Way sentiment set then did a bit of splattering with Mocha ink. Next I used a die from the Diagonal Stitch Rectangle Stacklets to create a little interest. Next I adhered the cute festive elements to that panel. Then lastly I adhered that panel to the stripped panel then adhered that to my card base! Voila 1 cute card ready to send 🎄
To assemble the second card I took the "Swirled" panel and used some Foam Sticky Strips and adhered them around the back of that panel around the stocking (this will keep all the fun shaker elements in place) than also around the perimeter of the back of the panel. I then adhered that to the card base. Next I filled the cavity with fun pieces from the Bits & Pieces - Holiday Sprinkles.
Next I adhered a piece of acetate to the back of the stripped panel to cover the stocking area to create the window for the shaker card. Next I adhered the stripped panel over the "swirled" panel being sure to line up the cutout stocking. And finally I heat embossed the Merry Christmas sentiment from the Season's Sweetings sentiment set and fussy cut around the image to fit the card and embellished it with some of the candy pieces from the Holiday Sprinkles. Adhered the sentiment to the card and Voila! 1 more cute card ready to send 🎄
Whew! That sounds like a lot of work but in all actuality it really went pretty quickly and I had a blast doing it and hope you will too 🎄
You'll find most of the links to the products I used throughout the blog article and you'll find a complete list below. Thanks for stopping by! Enjoy!
🎄 Products used for the first card "Holly Jolly":
🎄 Products used for the Shaker Card:
_edited.jpg)


Comments